Skip to content
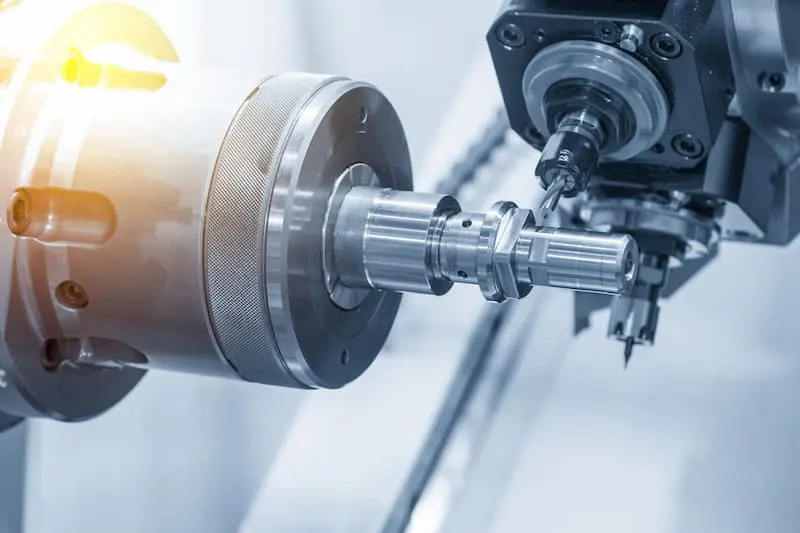
Ever wonder why your CNC machine isn’t producing the same finish it did a few weeks ago? Or why a once-sharp tool suddenly starts chipping or vibrating mid-cut? The hidden villain behind these costly issues might be tool wear. But here’s the catch: tool wear doesn’t just reduce efficiency. It can quietly sabotage your entire production cycle.
In this blog, we’ll uncover the truth behind understanding tool wear in CNC machining, including the types of tool wear, causes of premature tool failure, how to detect wear through surface finish changes, its impact on dimensional accuracy, and the most reliable tool life monitoring techniques.
Let’s dig into the science, strategies, and secrets that every machinist, engineer, and manufacturer should know.
Why Tool Wear Deserves Your Attention
Tool wear is more than a maintenance issue; it’s a hidden cost center. If left unchecked, it can degrade precision, compromise safety, and destroy your profits. A worn tool leads to poor surface finish, inconsistent part dimensions, and even damaged workpieces.
CNC machining depends on microscopic tolerances. So, even a tiny amount of wear can result in cumulative errors, leading to costly reworks or rejected parts. Whether you’re working on aerospace components, medical devices, or custom prototypes, tool wear is your silent production killer.
Types of Tool Wear You Should Know
To truly understand how tool wear affects CNC performance, you need to know the main types of wear, each one telling a different story about what’s going wrong during machining.
1. Flank Wear: The Invisible Thief
This is the most common and least obvious form of tool wear. It occurs on the tool’s flank (the side that touches the workpiece), gradually leading to loss of sharpness.
- Cause: Constant friction and high temperatures
- Effect: Poor surface finish and reduced dimensional accuracy
- Warning Sign: Surface roughness increases gradually
2. Crater Wear: The Silent Killer
Crater wear occurs on the rake face, right where the chips slide off the tool. Over time, this creates a “crater” that weakens the cutting edge.
- Cause: High-speed cutting and chip friction
- Effect: Unexpected tool failure and chipping
- Warning Sign: Deep pit near the tool nose
3. Built-Up Edge (BUE): The Fake Friend
Initially, BUE might seem helpful by shielding the cutting edge. But soon, it becomes unstable and breaks off, damaging both the tool and the workpiece.
- Cause: Adhesion of workpiece material at low to moderate speeds
- Effect: Chipped edges, poor surface finish
- Warning Sign: Intermittent tool vibration or odd noise
Each type of tool wear has its own signature pattern, and learning to read those signs is key to long-term CNC success.
Causes of Premature Tool Failure: It’s Not Just Wear and Tear
Tool wear is natural, but premature tool failure is often a sign of deeper process issues. Understanding the causes can save thousands in tooling costs.
1. Excessive Cutting Speed
Running your spindle too fast may boost productivity for a while. But it often leads to excessive heat and accelerated crater wear.
2. Incorrect Tool Material
Using a high-speed steel (HSS) tool when a carbide insert is required? That’s like bringing a knife to a gunfight. Poor material selection shortens life dramatically.
3. Lack of Coolant or Improper Lubrication
Cutting without proper coolant is like racing a car with no oil. Heat builds up, friction increases, and the tool rapidly degrades.
4. Poor Fixturing or Vibration
Tool chatter isn’t just annoying, it’s destructive. It leads to uneven tool wear, broken inserts, and inconsistent part quality.
By tackling these root causes, you don’t just extend tool life; you improve overall CNC system performance.
How Surface Finish Can Reveal the Secret of Tool Wear
Sometimes, your surface finish can speak louder than any warning light. If your machined parts begin to show unexpected texture changes, it might be the first visible sign of trouble.
Surface Finish Tells a Story
- Mirror-like surface turning matte? Likely flank wear.
- Consistent finish suddenly turns rough and inconsistent? Possibly BUE or vibration-related.
- Wavy patterns or ripples? You might be dealing with tool nose wear or spindle issues.
CNC pros know: monitor surface finish like a hawk. It’s the early-warning system for tool degradation.
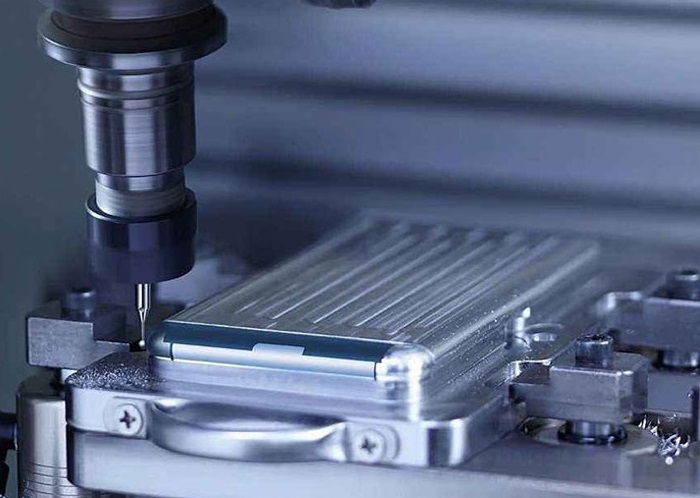
Dimensional Accuracy: The First Casualty of Tool Wear
Precision is everything in CNC machining. But as your tool wears out, even minor deviations in size and geometry begin to creep in. And that’s where the real damage starts.
What Tool Wear Does to Accuracy
- Undersized Parts: Caused by worn flanks that cut more material than expected.
- Tapered Bores: Result from uneven tool edge degradation.
- Out-of-Tolerance Parts: Inconsistent cuts due to dull tools or built-up edges.
Dimensional errors caused by tool wear often go unnoticed until the final inspection—when it’s too late. Catching it earlier can save your production line from disaster.
Tool Life Monitoring Techniques: Be Smarter, Not Just Faster
Tool wear can’t be eliminated, but it can be tracked, measured, and managed. Here are the top techniques used in high-performance CNC shops:
1. Scheduled Tool Changes
Replace tools after a set number of parts or time. Simple, but risky if wear occurs earlier than expected.
2. In-Process Wear Sensors
Modern CNCs can monitor cutting forces, vibration, and even acoustic signals to detect tool wear in real time.
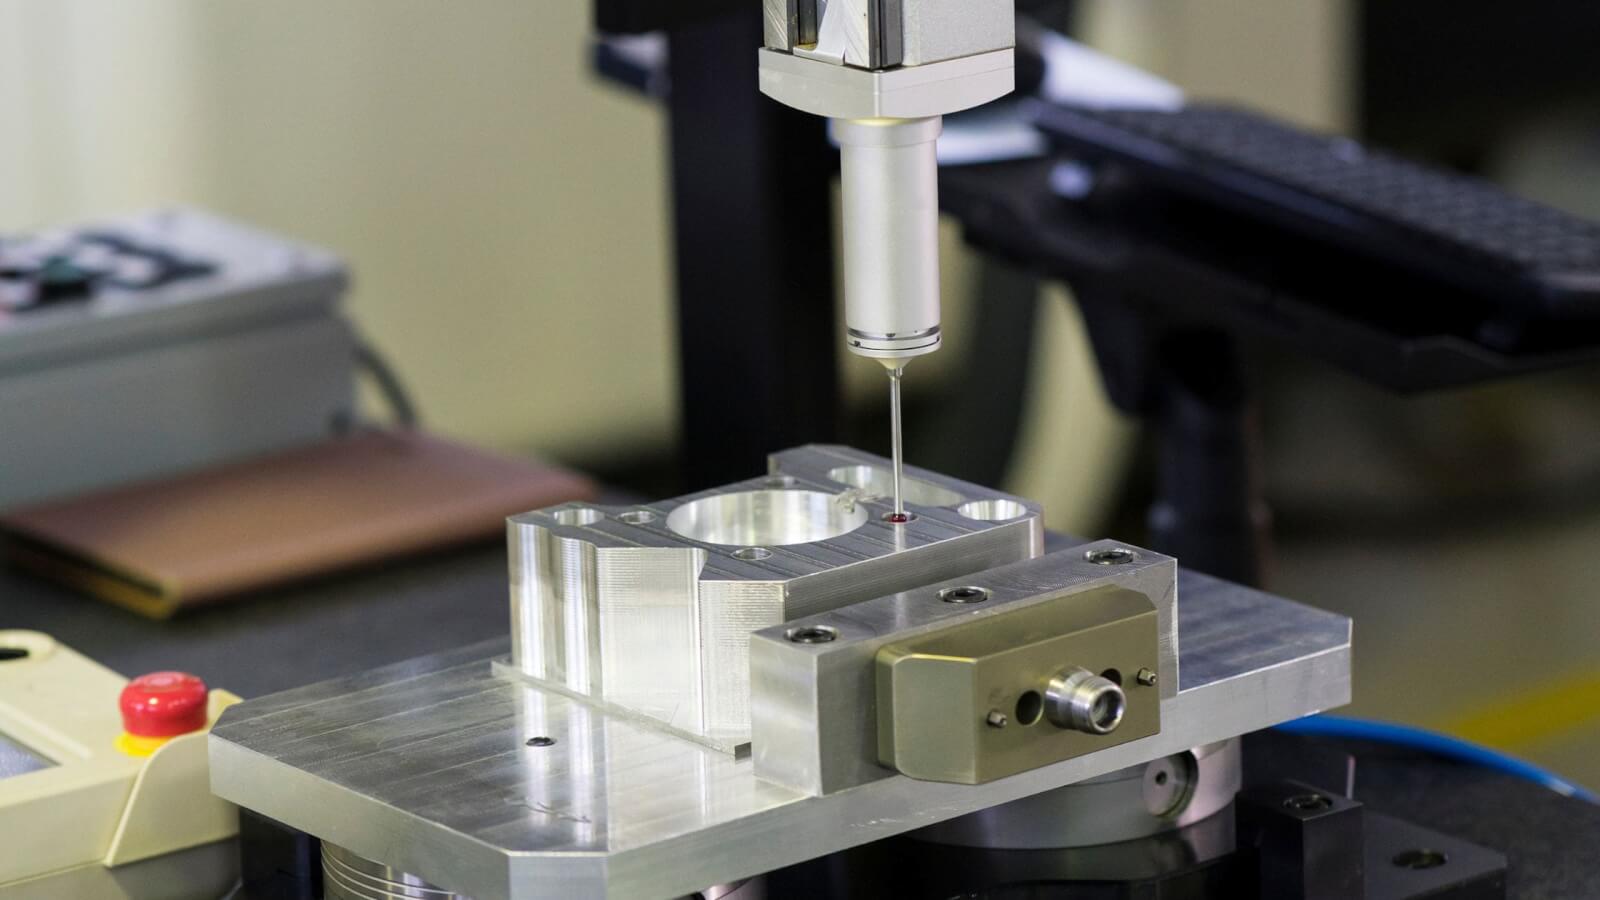
3. Surface Finish Inspection Systems
Automated systems measure surface roughness during machining and trigger alerts if values deviate.
4. Tool Life Prediction Software
AI-powered systems analyze tool usage data and recommend change intervals, optimizing tool life and minimizing waste.
By combining these techniques, manufacturers can maintain performance and avoid surprises on the shop floor.
Understanding Tool Wear is Equal To Gaining Competitive Advantage
In today’s ultra-competitive manufacturing world, knowing how to manage tool wear isn’t optional; it’s essential. Companies that master this science reduce downtime, lower tooling costs, and deliver higher-quality products consistently.
Whether you’re machining titanium parts for aerospace or aluminum molds for packaging, understanding and controlling tool wear gives you a crucial edge.
Guide to Tool Wear in CNC Machining
| Factor | Details |
| Types of Tool Wear | Flank, Crater, Built-Up Edge |
| Key Causes | Speed, material mismatch, cooling, vibration |
| Detection Clues | Surface finish changes, odd vibrations, and size errors |
| Impact | Poor surface finish, dimensional inaccuracy, and part rejection |
| Monitoring Techniques | Scheduled changes, sensors, AI tools, and inspection systems |
Final Thoughts
So, by Understanding Tool Wear in CNC Machining, we can say that Tool Wear Is Inevitable But Manageable. You can’t stop it, but you can stay ahead of it.
With a strong understanding of the types of tool wear, the causes of premature tool failure, and how to detect tool degradation through surface finish changes, you’re equipped to protect your tools, your machines, and your reputation.
FAQs
What’s the most common type of tool wear in CNC?
Flank wear, caused by constant contact with the workpiece, is the most frequently observed.
Can tool wear affect tolerance in machining?
Absolutely. Tool wear often leads to dimensional errors that throw parts out of tolerance.
How can I detect tool wear early?
By monitoring surface finish, vibrations, and tool forces, and using in-process sensors or software.
What tool or life monitoring method is best?
A combination of AI-based prediction software and in-machine wear sensors offers the best results.
Why is tool wear critical in aerospace CNC machining?
Precision is paramount in aerospace. Even minor tool wear can lead to unsafe or rejected components.