 Skip to content
In today’s fast-paced product innovation cycle, speed, accuracy, and adaptability are everything. Rapid prototyping with CNC machining offers a perfect combination of precision and speed, allowing engineers and designers to move from idea to tangible prototype in just days.
This guide will explore the benefits of rapid CNC prototyping, compare it to alternative technologies, and provide a step-by-step CNC prototyping guide for professionals and teams in engineering, industrial design, or manufacturing.
What is Rapid Prototyping with CNC Machining?
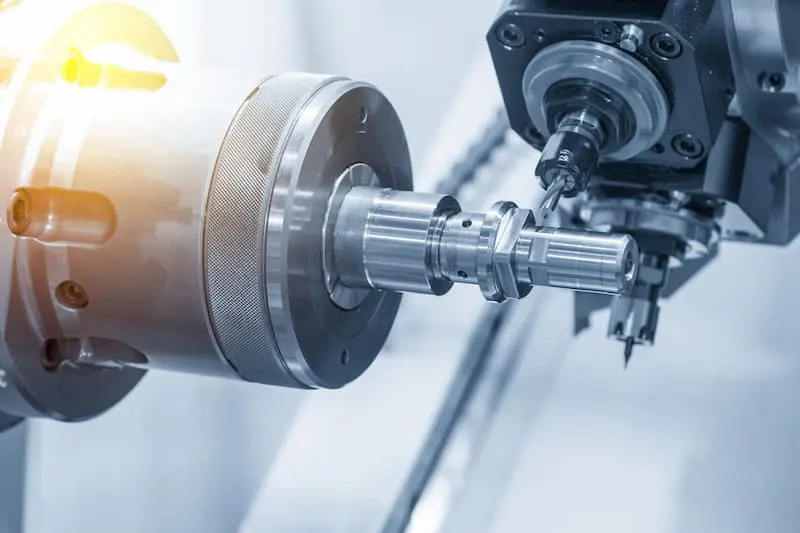
Rapid prototyping with CNC machining refers to using computer numerical control (CNC) machines to create accurate, functional prototypes from real-world materials like aluminum, ABS, and stainless steel. CNC machining contrasts with 3D printing in that it excavates a finished part out of a solid shape (subtractive manufacturing), with the result being of the quality of production parts.
A 2024 survey conducted by SME.org found that more than 62 percent of manufacturers apply CNC machining during the prototype phase because of its good surface finish, materials versatility, and narrow tolerances (+-0.005″).
How CNC Machining Enables Rapid Prototyping
In comparison to conventional solutions, CNC machining helps product teams verify form, fit, and functionality quickly. Here’s how:
- Speed: Prototypes can be delivered in as little as 1-3 days.
- Material Selection: Works with actual fabrication materials such as aluminum 6061, PEEK, and brass.
- Dimensional Accuracy: Able to +/- 0.001″.
- Repeatability: Ideal for iterative design and testing under realistic conditions.
Rapid prototyping with CNC machining is especially vital in industries like aerospace, medical, and consumer electronics, where real-world testing is crucial.
Explore the Benefits of Rapid CNC Prototyping
Let’s take a closer look at the benefits of rapid CNC prototyping in the product development cycle:

1. Accelerates Product Development
CNC machining time to market is considerably faster, as parts can be produced in days rather than weeks. McKinsey maintains that early and frequent prototyping enables companies to launch products 50 percent faster than those that do not.
2. Supports Iterative Design
You can also test, change, and reprototype with CNC. This iterative design approach helps teams refine geometry, materials, and function before moving to mass production.
3. Provides Testing of Functions
One can machine a prototype in actual production-grade materials on CNC, where 3D printing usually utilizes limited materials, often unable to support stress, heat, and durability testing in the real world.
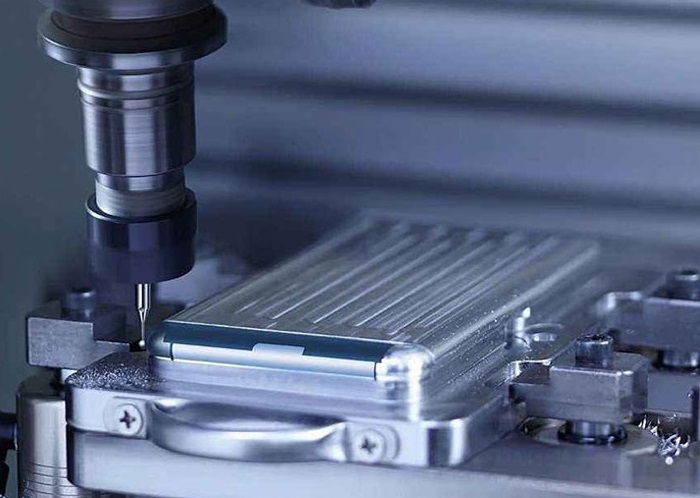
4. Excellent Finish Surface
Such CNC parts can be finished to be as smooth as Ra 0.8 m, allowing their use as both functional prototypes and visual presentation materials.
CNC Prototyping vs EDM vs 3D Printing
Let’s compare CNC prototyping vs EDM vs 3D printing in a practical context:
| Method | Speed | Material Range | Surface Finish | Tolerances |
| CNC Machining | 1–3 Days | Wide (metals/plastics) | Excellent | ±0.001–0.005″ |
| EDM | 3–7 Days | Conductive only | Very Fine | ±0.0005–0.002″ |
| 3D Printing | 1–2 Days | Plastics/Resins | Fair to Good | ±0.005–0.020″ |
While EDM is excellent for extremely fine detail in conductive materials, and 3D printing is great for fast concept models, rapid prototyping with CNC machining offers the most balanced option when precision and material performance are essential.
Typical CNC Parameters to Prototype
For efficient prototyping, understanding common CNC parameters for prototyping (feed, speed, depth) is crucial:
- Feed Rate: The standard values are 50 to 500 mm/min, depending on the material and tooling.
- Spindle Speed: Ranges from 5,000 to 20,000 RPM for aluminum and plastics.
- Depth of Cut: The depth of cut is usually 0.5 to 3 mm of the prototype parts in order to reduce deflection of the tool and guarantee surface finish.
These values can be correctly tuned such that tool wear is avoided and deformation of parts occurs as well, and time is not wasted when the prototyping runs are being done.
Step-by-Step CNC Prototyping Guide
Here’s a step-by-step CNC prototyping guide you can follow to optimize your product development process:
Step 1: Set an Objective for Your Prototype
Is it the visual testing part, functional use part, or mechanical testing part? This identifies the requirements of material and finish.
Step 2: Selection of the Right Material
Choose a material that reproduces the end production material. Prototypes should be made in aluminum or ABS, whereas durability testing should be in stainless steel.
Step 3: Generation or Import CAD Models
Make sure that your CAD design is friendly to machining, meaning clear tolerances, undercuts, and the use of tools.
Step 4: CAM Software programming
CAM software Fusion 360 or Mastercam can then be used to generate toolpaths. This includes selecting tools, cutting paths, and feeds/speeds.
Step 5: Carry out a Simulation
Make a simulating habit before machining to identify the probable collision or ineffective toolpaths.
Step 6: CNC Machining
According to their complexity, the parts are machined by a 3-axis or 5-axis CNC machine.
Step 7: Post Processing
Contains deburring, polishing, or coating, depending on the prototype’s needs.
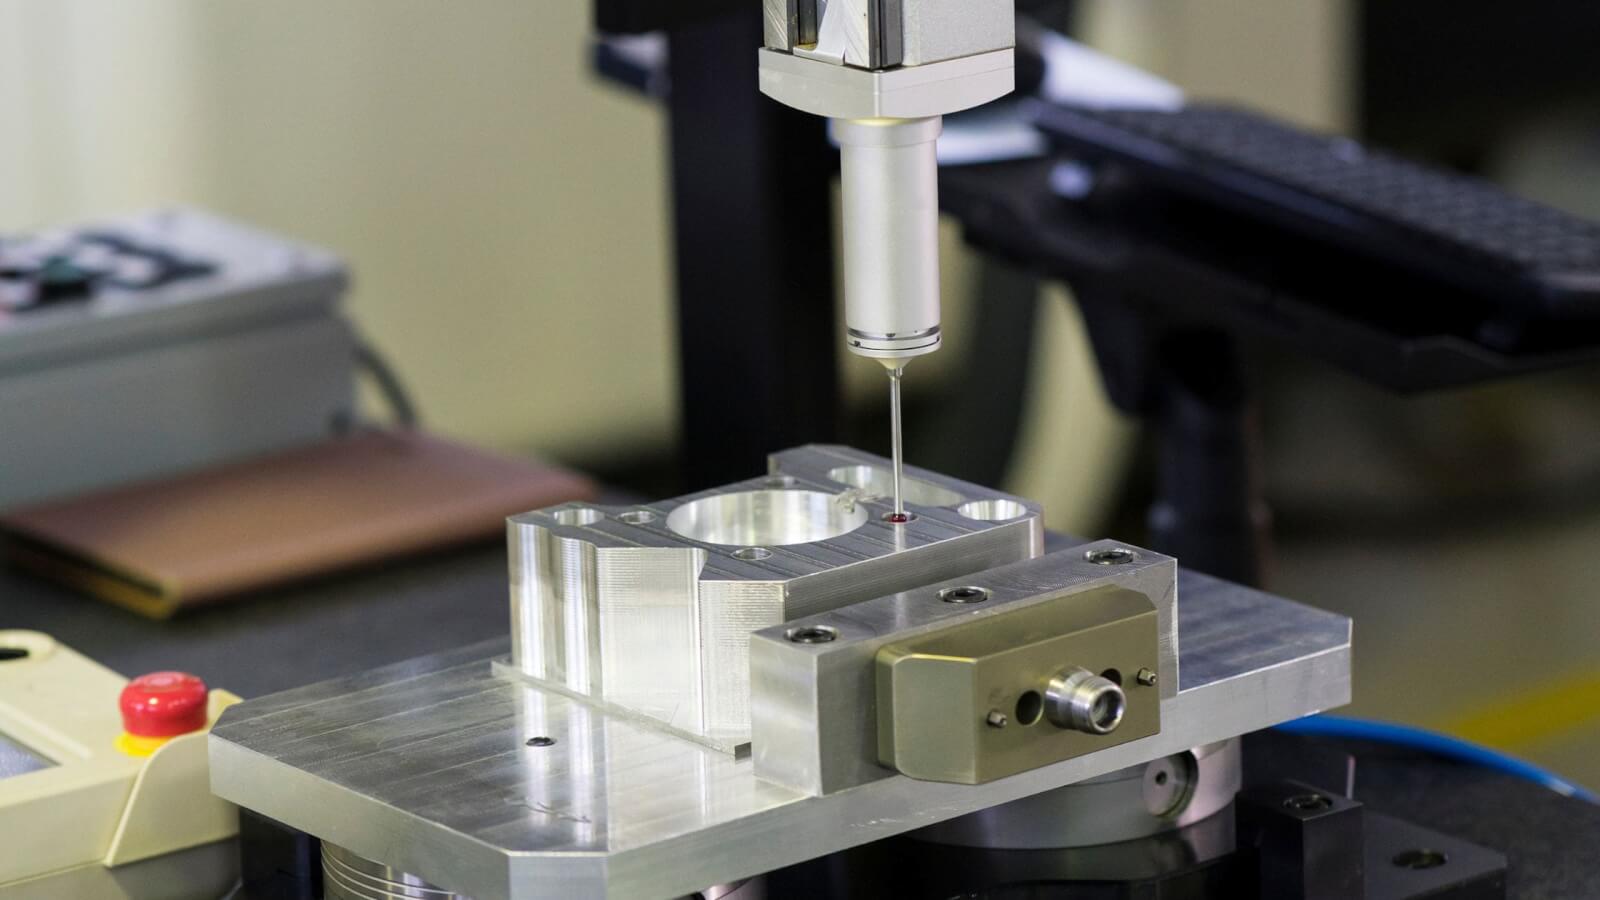
Step 8: Testing & feedback
Test the prototype, and then iterate. Apply the lessons to get more specifications on your production design.
The Reasons to Prefer CNC as a Rapid Prototyping Technology?
- A CNC prototyping provides repeatable parts ready to be produced.
- It accommodates low-run iterations without the costs of molds or dies.
- Instead, you can print several versions of a part, say to do A/B testing or a field trial.
- It can be scaled – prototype offs, all the way up to bridge production.
In short, rapid prototyping with CNC machining combines flexibility, accuracy, and speed in one highly effective process.
Conclusion: Speed Meets Precision
Rapid prototyping with CNC machining empowers teams to bring ideas to life faster, more accurately, and with better real-world validation than most alternative methods. Whether you’re developing a next-gen wearable, a new car part, or a medical device, CNC machining can drastically improve your product development process.
Using this technology, you will be competitive, with rapid production of superior prototypes with reduced errors, and lower spending in order to fix problems. Start your journey with a CNC partner who understands both speed and quality.
FAQs About Rapid Prototyping with CNC Machining
What industries benefit most from CNC rapid prototyping?
Industries such as aerospace, automotive, electronics, and medical devices use 3CNC rapid prototyping to accelerate innovation and reduce risks during development.
What is the duration of CNC prototyping?
This means that most of the CNC prototypes are manufactured within 1-3 days of business, depending on the end requirements of materials, complexity, and finish of the end product.
Which materials are optimal to use in CNC prototyping?
Does CNC prototyping yield a more accurate result compared to 3D printing?
Yes. CNC enables a smaller tolerance (0.001″:0.001″) and a better surface finish, thus it is adequate in mechanical and functional testing.
Is it possible to use CNC prototyping of final parts?
Absolutely. Many companies use CNC not just for prototyping but for bridge manufacturing or low-volume production due to its quality and speed.


